
Google BigQuery is a fully-managed enterprise data warehouse designed to process very large read-only data sets. With the help of built-in features like machine learning, geospatial analysis, and business intelligence, BigQuery allows you to manage and analyze your data insights. As BigQuery is serverless, there is no need to provision or manage any infrastructure. Simply create a project, load your data, and start querying.
In this article, you will find out how to set up BigQuery for the first time as well as how to take a look at the platform first without having to subscribe. With our easy-to-follow guide, you will be able to set BigQuery up and start using your data’s full potential in no time!
BigQuery Main Uses
There are many ways to make use of Google BigQuery. Some of the most common methods include using it for data warehousing, data analysis, and real-time analytics.
For more information on data warehouses, check out our article on Best Cloud Data Warehouse Solutions and How to Choose the Right One.
As the name suggests, with BigQuery, you can query massive data sets in mere seconds, but the tool allows you to do much more. BigQuery’s scalable, distributed analysis engine also
- Runs complex analytics on petabytes of data (in minutes);
- Enables businesses to make real-time decisions by running queries on their data streaming in;
- Generates insights from your data through machine learning;
- And allows developers to use BigQuery as a managed environment for running their own custom SQL queries.
Get to Know the Platform Through BigQuery Sandbox
Although you can of course start using BigQuery right away, we advise you to familiarize yourself with the platform first. One way to do so is to try out the BigQuery Sandbox. The Sandbox offers you all the most important features that BigQuery has. The most notable ones are:
- Limit of up to 10 GB of active storage and 1 TB of processed query data per month;
- Ability to create up 1 GB of BigQuery BI Engine capacity;
- The default expiration date of tables and views is 60 days.
While you can try out many features, there are still a few that are locked for the Sandbox environment, such as:
- Streaming data;
- Data manipulation language (DML) statements;
- and BigQuery Data Transfer Service.
Step 0: Set Up Your BigQuery Sandbox
If you are interested in trying out the BigQuery Sandbox, you will need to set up your account. If you want to start using the full version of BigQuery now, upgrade your BigQuery and skip to Step 1.
- Go to https://console.cloud.google.com/bigquery.
- Sign in with your Google Account and (if you agree with them) accept the Terms and Conditions.
- Create your first Google Cloud project. This is an unskippable step if you wish to use BigQuery Sandbox. Click on the drop-down menu with your projects and select New Project.
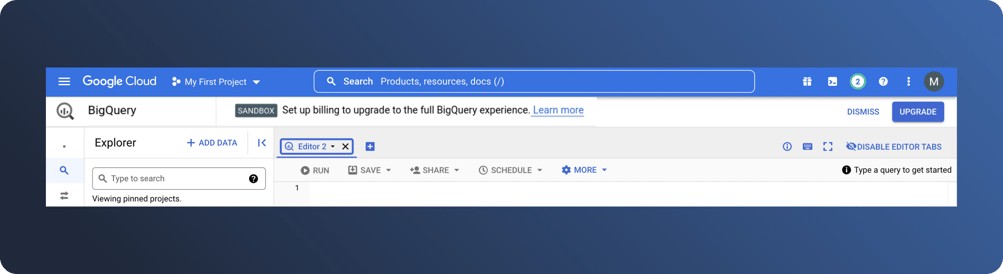
- After creating your project, you will be redirected to the console. On the top, there will be an indication that you are in the Sandbox environment. Click on the Upgrade button on the right side to access all the features and remove the limitations.
- To find out how to create data sets, please skip to Step 3 of this guide.
Get Started in BigQuery
Step 1: Create a Project in the Google Cloud Platform Console
If you have already used BigQuery Sandbox, you will be familiar with this step.
After upgrading to the full BigQuery version, create your project by selecting the list of your projects and click on New project.
After you create your project, you will be redirected to the Console.
Step 2: Enable the BigQuery API
Now you will need to enable the BigQuery API for your project. Through the BigQuery API, you can grant access to your colleagues to edit your data sets.
- Select APIs & Services in the left menu, then click on Enabled APIs and services.
- Search for BigQuery API in the search field.
- Click Enable.
Congratulations, you can now start using Google BigQuery!
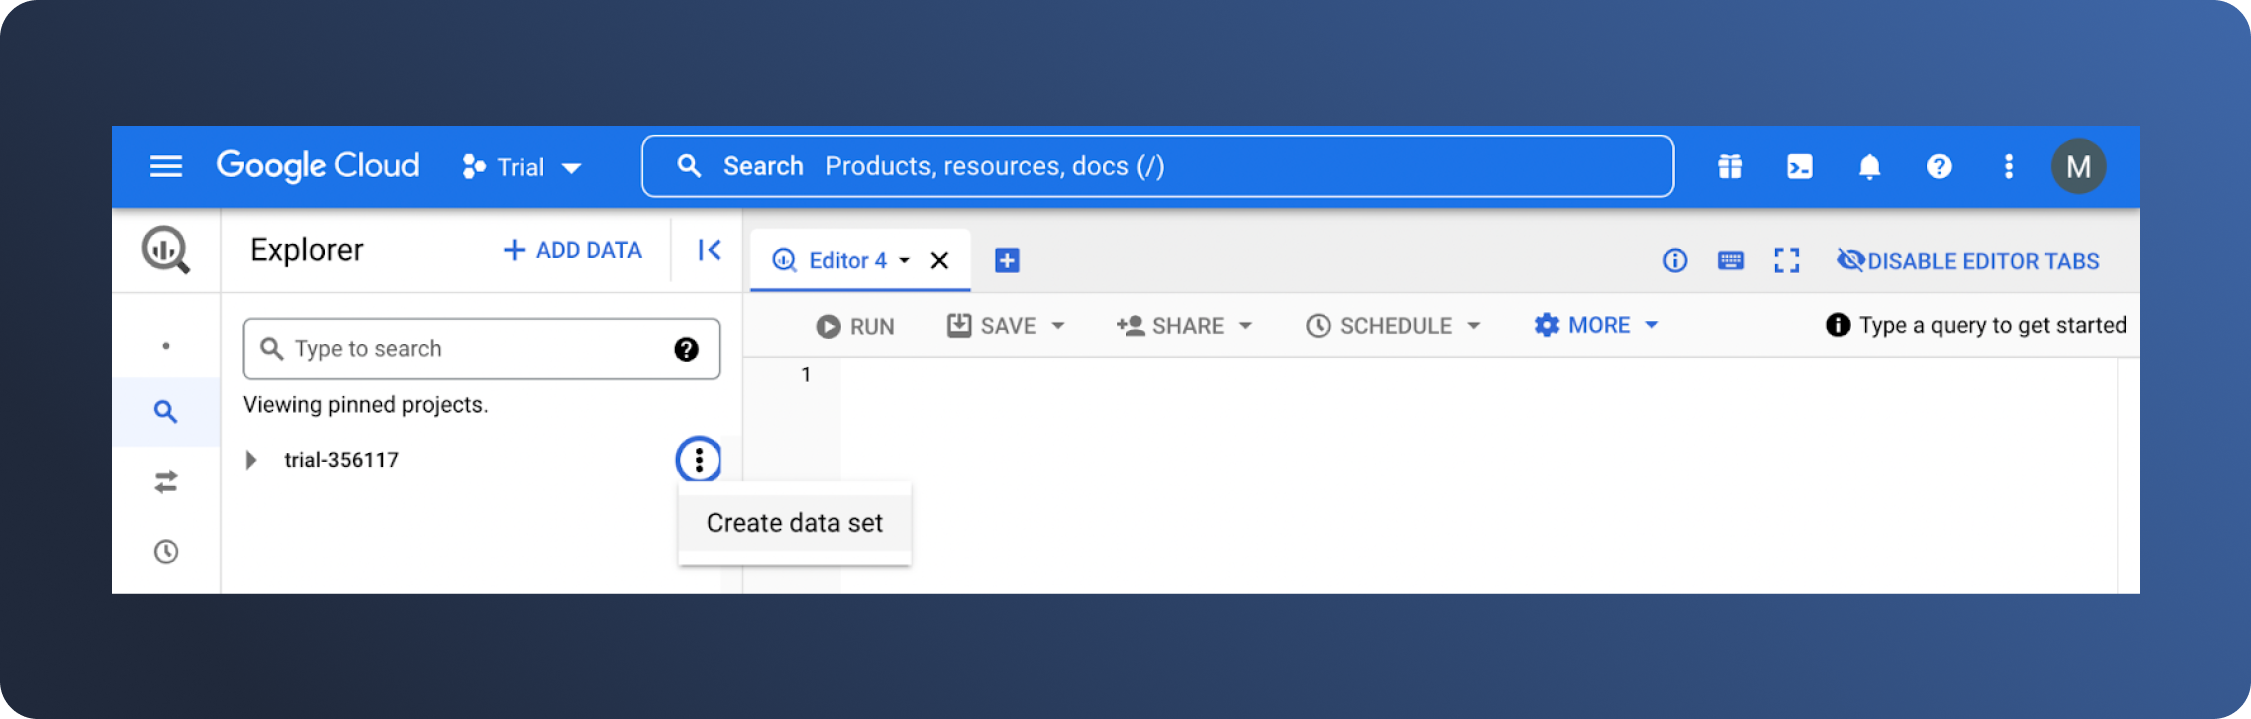
Step 3: Create a BigQuery Data Set
Start by creating your data set. Click on the three dots next to your project and select Create data set.
Fill in your data set’s name (aka Data set ID), choose where you want your data to be physically located, and click on Create data set.
Step 4A: Load Data into Your Data Set
Finally, you can load data into your table manually by clicking Create Table.
Choose the source you'd like to load data from.
Step 4B: Load Data into Your Data Set with Dataddo
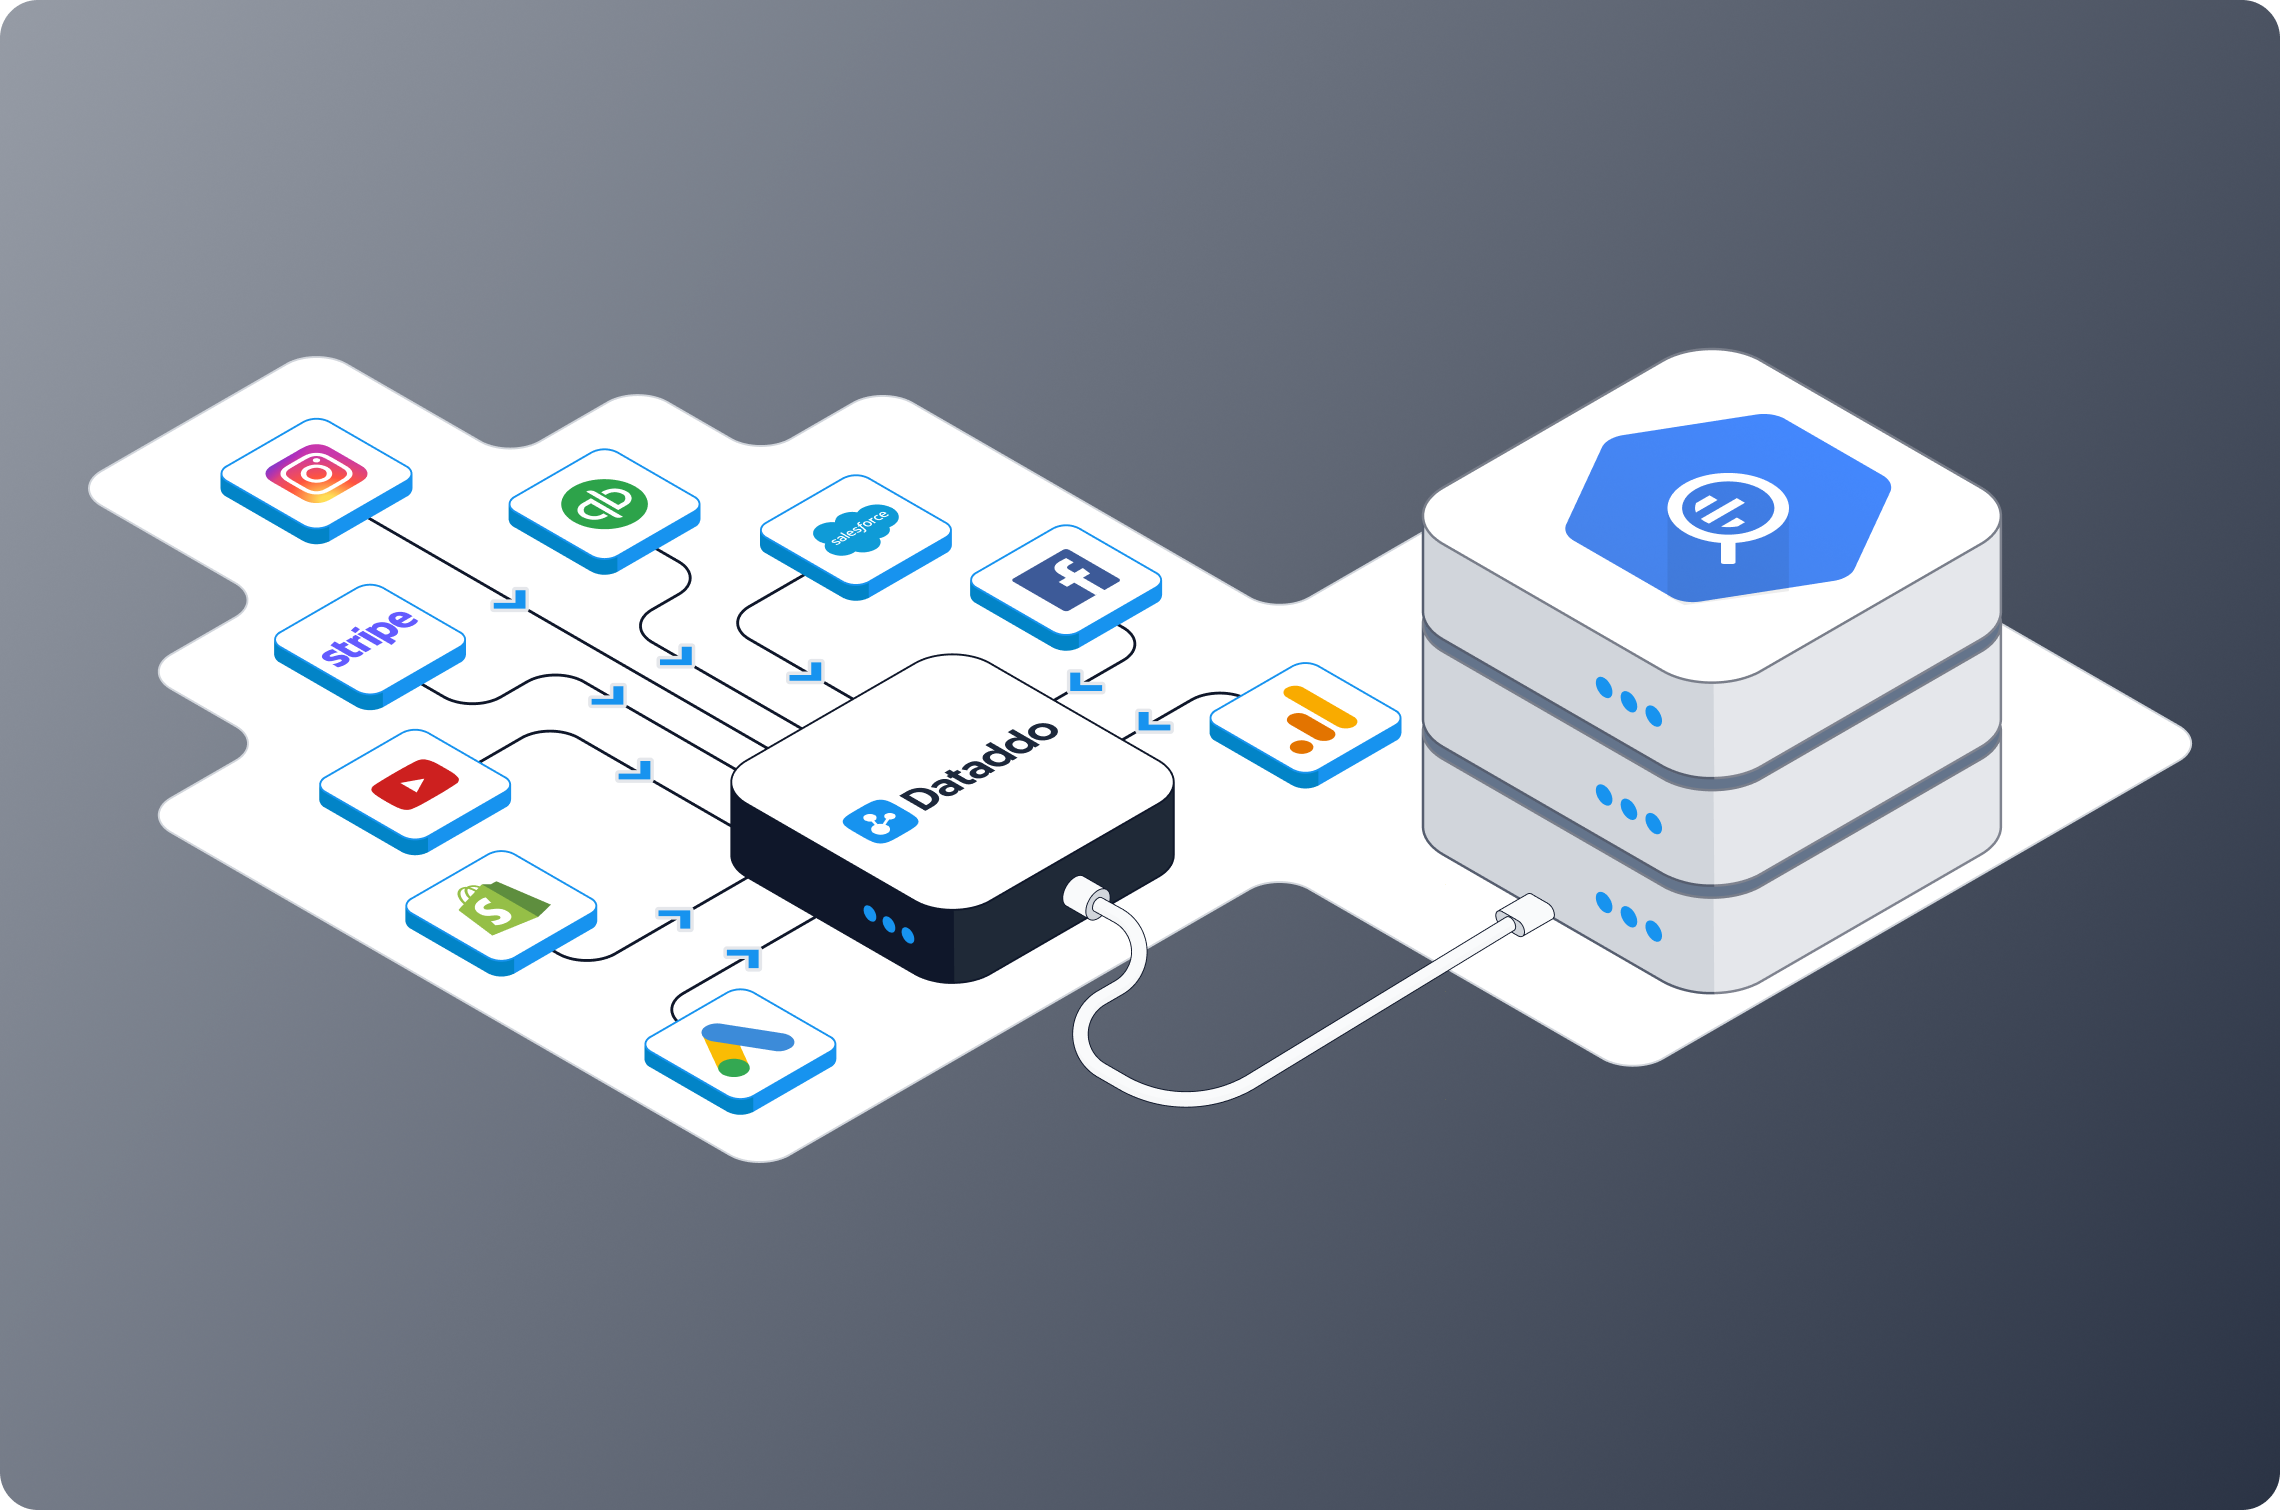
Manually loading your data (especially if you have more than a few sources) can be quite time-consuming, not to mention, prone to error. As such, you can load your data via data integration platforms such as Dataddo. You can load data from more than 150 sources to more than 50 destinations, of course, including Google BigQuery.
First, create a Google BigQuery Data Destination.
Then create a data flow connecting your data source with your BigQuery destination and your tables are all set up, ready to be transformed in BigQuery.
For more details on how to set up data flows to and from BigQuery in the Dataddo app, refer to our documentation on How to Connect Google BigQuery. Or watch this webinar tutorial by our CEO, Petr Nemeth:
In this webinar, Petr talks about how Dataddo can be used to integrate data from sources outside the Google ecosystem with Google BigQuery. More specifically—how to send data from cloud apps to BigQuery as a destination (ETL/ELT), as well as how to send data from BigQuery back into cloud apps (reverse ETL).
He covers:
- Architecture overview
- Setting up ETL/ELT and Reverse ETL pipelines
- Using different write modes (append vs. upsert)
- Solving common issues (data duplicates, table partitioning)
|
See how Dataddo can help your business Just a few quick steps to get your data to your dashboard for better analysis, without the hassle.
|


Comments